Recently I was asked about filtering data in the MDS Add-in for Excel. The users maintain an entity with a large number of members. New members are entered daily but rarely updated. One way to resolve this is to filter the data in Excel. This simple solution gives users the ability to control the data that they see while giving them the ability to edit if needed.
Here is how to create and remove a filter using the Product sample package that is included in the install.
Adding a Filter
1. Connect to the MDS source.
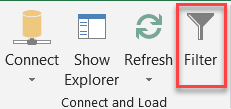
2. In the “Master Data” tab, click “Filter”.

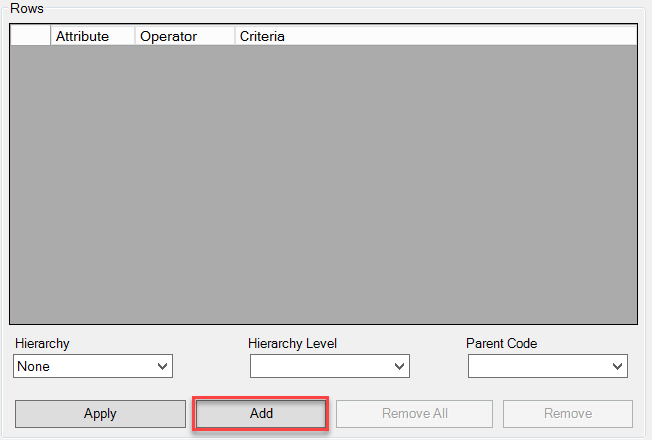
3. In the “Filter” screen, click “Add”.

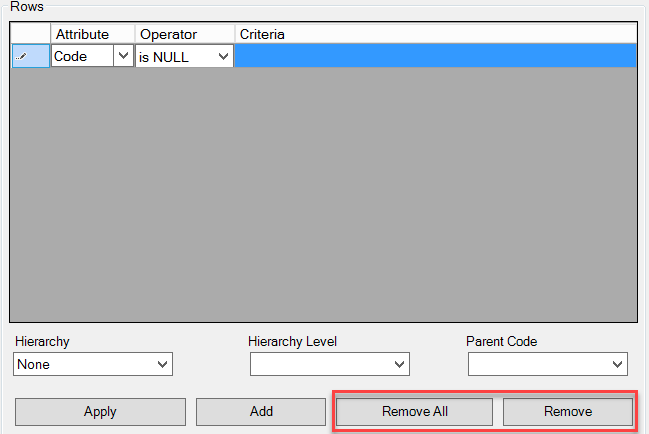
4. For “Attribute”, select “Code” from the drop down list. You could use any attribute here. For “Operator” select “is NULL”.

5. Select “Load Data” from the bottom of the screen. Select “Yes” at the window prompt.

6. The worksheet is now filtered to enter data. The worksheet can now be saved and will filter when the data is refreshed.

Removing a filter
1. To remove the filter, click on the filter to highlight it and select “Remove”. Multiple filters can be deleted by selecting “Remove All”.

2. Select “Load Data” from the bottom of the screen.

2. All of the data is again displayed.
